Wednesday, December 17, 2014

Be Merry!


Hello! I whipped a quick card today which is a rarity for me, lol. What made it quick was a few dies: the My Favorite Things Snow Drift, Blueprints 21 & Fishtail Flag dies. Not much coloring involved in the little penguin which also added to finishing the card quickly. I realized after I photographed the card, that my little tree row shifted upward, over the snow drift on the left, but didn't have time to reshoot. The flaw is proof that this card is handcrafted...LOL! Below is the card interior with coordinating papers & design.


Okay, Here's the Deets:
Stamps: Lawn Fawn "Winter Penguin" & "Snow Day", Stampin' Up! "Be Merry" Sentiment
Papers: Doodlebug "Frost Friends" Designer Paper Collection, Paper Trey Ink White Cardstock
Ink: Memento Tuxedo Black, Stampin' Up! Glorious Green
Accessories: Cuttlebug, My Favorite Things Snow Drift Dies, Blueprints 21 & Pishtail Flags Dies, EK Success Small Oval Punch, Stampin' Up! Dimensionals, Copic Sketch Markers
Embellishments: The Twinery Lilac Baker's Twine, Theresa Collins Enamel Dots, Dress It Up Button Snowflake, KaiserCraft Self-Adhesive Pearl

Thanks for visiting! I always love hearings your thoughts & comments...

Sunday, December 14, 2014

With Love At Christmas


Hello! I have a card made with another of my new Lili of the Valley stamps, made in Leeds, England. My new guilty pleasure! I love these little people and the style of the illustration...so sweet & whimsical. I originally colored the image before the one you see in the photo above, and put glitter glue on the little girls fur collar and hat, but the little girl's blonde hair smeared from the glitter glue. YIKES! I had to recolor a new image so I didn't dare mess with glitter glue over top Copic coloring. Lessons learned here, lol. Below is a close-up of the colored image.


Below, is a photo of the card interior with coordinating papers, design and layout.


Okay, here's the Deets:
Stamps: Lili of the Valley
Papers: Lawn Fawn "Snow Day", Paper Trey Ink White Cardstock
Ink: Memento Tuxedo Black
Accessories: Cuttlebug, Spellbinders' Label Die, Sewing Machine, Thread, Stampin' Up! Dimensionals, Sakura Souffle Pen, Sakura Clear Star Gelly Roll Pen
Copic Sketch Markers: R11 Pale Cherry Pink, R14 Light Rouge, R27 Cadmium Red, Y13 Lemon Yellow, Y21 Buttercup Yellow, G16 Malachite, G20 Wax White, B000 Pale Porcelain Blue, B00 Frost Blue, B41 Powder Blue, E00 Skin White, E25 Caribe Cocoa, E31 Brick Beige, E34 Orientale, 0 Colorless Blender
Embellishments: Recoolections Glitter Brads, Recollections Glitter Wreath, Really Reasonable Ribbon Lace Trim, Pebbles Gingham Ribbon, Doodlebug Button
Techniques: Machine Stitching, Copic Coloring

Thanks for visiting! I always love to hear your thoughts & comments...

Saturday, December 6, 2014

Happy Christmas


Hello, I have a new stamp to share! Squeeaaallll! I've discovered Lili of the Valley stamps in England and I'm in love. I love the style of their illustrations...they are so British-looking, lol. I couldn't wait to ink up this little guy bringing home a Christmas tree. I don't know if you can see it in the photo or not, but I Stickled/Glittered the snow he is walking on. Below is a close-up of the colored image.


Below, is a photo of the card interior with coordinating papers, design and embellishments.


Okay, Here's the Deets:
Stamp: Lili of the Valley
Papers: Docrafts "Christmas in the Country", ColorMates Solid Cardstock, Paper Trey White Cardstock
Ink: Memento Tuxedo Black
Accessories: Cuttlebug, SpellBinders' Oval Die, EK Success Border Punch, Sewing Machine, Thread, Stampin' Up! Dimensionals, Zots, Crystal Stickles, Sponge
Copic Sketch Markers: RV000 Pale Purple, B000 Pale Porcelain Blue, B00 Frost Blue, B06 Peacock Blue, B24 Sky, B32 Pale Blue, B41 Powder Blue, B39 Prussian Blue, G24 Willow, G28 Ocean Green, G40 Dim Green, G94 Grayish Olive, E00 Skin White, E25 Caribe Cocoa, E31 Brick Beige, E34 Orientale, 0 Colorless Blender
Embellishments: Really Reasonable Ribbon Rick Rac & Glitter Ribbon, Basic Grey Opaline Self-Adhesive Pearls, Dress It Up Snowflakes
Techniques: Copic Coloring, Machine Stitching, Sponging

Thank you for visiting! I always love to hear your thoughts and comments...


Friday, November 28, 2014

Very Merry


Hello! I managed to get back to cardmaking this week but I think my mojo was missing. This is one of those cards where I had a visual in my mind, but as I starting generating the visual, it just wasn't looking like what I had hoped. So, I typically, lay these types of cards down and walk away for a day or so or until I can deal with looking at it without getting depressed or frustrated, lol. I proceeded to continue the design that I originally planned, using some new WOW Embossing Powder for the snow drifts and as you can see in the close-up photo below, it did a weird, inconsistent thing when I put the hot gun on it and blistered in some areas but not all. But, this girl was not starting over! I popped up the 3 snow drifts, outlined the tops of the drifts with Stickles and popped up the birch trees and after a little embellishing, put this puppy to bed.


Below, is the card interior with coordinating design and papers. I popped up the cardinal and added a dimensional snowflake to complete the design.


Okay, Here's the Deets:
Stamps: Lawn Fawn "Joy to the Woods", Stampin' Up! Interior Sentiment
Papers: Carta Bella "Bundled Up", My Mind's Eye "Sweater Weather", Paper Trey Ink White Cardstock
Ink: Memento Tuxedo Black & Summer Sky
Tools: EK Success Mini Scalloped Corner Punch & Regular Corner Punch, Stampin' Up! Dimensionals, Zots, Sponge, Adhesives, WOW Opaque Bright White Embossing Powder, Stickles "Crystal Ice", Signo Silver Gel Pen
Embellishments: Dress Me Up Button Snowflakes, KaiserCraft Self-Adhesive Pearls, Copic Sketch Markers

Thank you for visiting! I always love to hear your thoughts and comments.

Tuesday, November 25, 2014

My Putz Christmas Village


Hello! I've been sidetracked from cardmaking this month in a quest to recreate my mother's 1950's Putz-inspired Glittered Christmas Village. I enjoyed making this nostalgic village which has holes in the back of each building to use a string of C7 multicolored lights. My village sits atop a glimmered blanket of "snow" on top of my piano, as my mother's village sat atop our upright piano when I was a young girl. Below are the houses, close up.


Thank you for visiting! I always love to hear your thoughts and comments...

Sunday, November 9, 2014

Putz'-in Around


Hello! I've gotten a little sidetracked from my cardmaking the last few weeks...it may be a result of being sick for 2 weeks with the worst head cold I'd ever had and while sick I was searching through Pinterest and ran across the cute little Christmas Glitter Houses that were manufactured in Japan, sold in dime stores during the 1940's-1950's. Many fans of the little glitter Christmas houses would buy several houses, buildings and churches to create a Christmas village scene. My mother had such a Christmas Village set that she always displayed on top of our upright piano while I was growing up. Each house has a hole in the back, where she would place a string of C7 (nightlight bulb size) multi-colored lights and that would make the little houses' windows light up with the warmest glow. It was and remains a very cherished memory of my childhood Christmases. With that said, I ran across some Putz-inspired bare cardboard houses on Etsy and decided to make one or two myself. The house above is a larger scaled house than the original Putz Christmas Glitter Houses from the past. I painted it yellow to resemble my actual Little Yellow Cottage. Below is a 3/4 angle of the house.


Below is a smaller Putz-inspired Christmas Glitter House about 3"x4" and is more resembling of the actual Putz houses from the 1940's-1950's. It, too, has a hole in the back to insert a electric light or a battery-operated LED flicker light.


I've enjoyed making these magical little Christmas Glitter houses so much, that I've purchased 3 more little houses and a little church. I'll share photos when I've finished them. Whatcha think?

Thanks for visiting, I always love to hear your thoughts & comments.

Tuesday, October 21, 2014

Warm Winter Wishes


Hello! I'm under the weather with a head cold trying to wreak havoc on my body, so I thought I'd finish up this card that I began a day or so ago. I don't know about the wisdom of finishing a card while sick, but hey, I feel like I did something today, lol. I used my new stamp, "Winter Fox" by Lawn Fawn...love their stamps! Below, is a photo of the card interior with coordinating design and papers.


Okay, Here's the Deets:
Stamps: Lawn Fawn "Winter Fox", Computer-Generated Interior Sentiment
Papers:  Docrafts "Christmas In the Country" Designer Paper Collection, Carta Bella "Traditions" Designer Paper Collection, Paper Trey Ink White Cardstock
Ink: Memento Tuxedo Black
Accessories: Cuttlebug, Spellbinders Scalloped & Regular Rectangular Dies, EK Success Border Punch, EK Success Scalloped Corner Punch, Sewing Machine, Thread, Stampin' Up! Dimensionals, Adhesives, Crochet Thread
Copic Sketch Markers: YR12 Loquat, YR21 Cream, R02 Flesh, R08 Vermillion, B24 Sky, B41 Powder Blue, E33 Sand, 0 Colorless Blender
Accessories: Recollections Dimensional Snowflakes, Recollections Dimensional Fox, Queen & Co. Enamel Dots, Pebbles Grosgrain Ribbon, Doodlebug Glitter Button
Techniques: Paper Piecing, Machine Stitching, Copic Coloring & Blending

Thank you for visiting! I always enjoy hearing your thoughts & comments...

Saturday, October 18, 2014

I Love Fall

 
Hello! I finished a card today that I began 5 days ago...sometimes, I'm just so indecisive about what design, layout, color scheme, and flavor to use that I end up overthinking the whole thing! But here it is, my latest overthought creation, lol. I love the stamp set "Into the Woods" by Lawn Fawn and wanted to ink up the little squirrel and use the supercute Doodlebug "Friendly Forest" designer paper collection. I think this is one of my very favorite Doodlebug paper collections, ever. Below, is a photo of the card interior with coordinating design, layout and designer paper.


Okay, Here's the Deets:
Stamps: Lawn Fawn "Into the Woods" Stamp Set, Computer-Generated Interior Sentiment
Papers: Doodlebug "Friendly Forest" Designer Paper Collection, Paper Trey Ink White Cardstock
Ink: Memento Tuxedo Black
Accessories: Cuttlebug, Spellbinders' Scalloped & Regular Circle Dies, Martha Stewart Border Punch, Martha Stewart Leaves Punches, EK Success Scalloped Corner Punch, Sewing Machine, Thread, Stampin' Up! Dimensionals, Adhesives.
Copic Sketch Markers: YR12 Loquat, YR21 Cream, B00 Frost Blue, BG00 Pale Aqua, G24 Willow, YG63 Pea Green, E25 Caribe Cocoa, E31 Brick Beige, E34 Orientale, 0 Colorless Blender
Embellishments: Really Reasonable Ribbon Crochet Ribon
Techniques: Machine Stitching, Copic Coloring

Thanks for visiting...I always love to hear your thoughts & comments.

Saturday, October 11, 2014

Warms the Heart


I am so inconsistent with my cardmaking...a week ago, I cranked out 3-4 cards in one week...then this week, it just seemed that I couldn't get it together or get the mojo in gear. So, a new stamp and new paper always seems to do the trick, lol...at least, for me! I recently purchased my first rubber stamp from Impression Obsession (by the way, the stamp is such a clean stamp as far as how it stamps, very nice quality) and couldn't wait to ink it up. Lately, I've been on a crochet ribbon kick as a result of purchasing some really nice crochet ribbon from Really Reasonable Ribbon, so this cute white crochet lacey ribbon seemed just the right finishing touch for my snowy, wintry card. Below, is a photo of the card interior with coordinating papers and design.


Stamps: Impression Obsession Sweet Snow Kisses, There She Goes Winter Wishes Sentiment, Computer-Generated Interior Sentiment
Papers: Carta Bella Bundled Up Designer Paper Collection, Paper Trey White Cardstock
Ink: Memento Tuxedo Black
Accessories: EK Success Border Punch, Sewing Machine, Thread, Adhesives, Stampin' Up! Dimensionals
Copic Sketch Markers: YR16 Apricot, R02 Flesh, R08 Vermillion, BG000 Pale Aqua, BG18 Teal Blue, BG72 Ice Ocean, B000 Pale Porcelain Blue, B00 Frost Blue, E00 Skin White, E31 Brick Beige, E25 Caribe Cocoa, E29 Burnt Umber, 0 Colorless Blender
Embellishments: EK Success Snowflakes, Really Reasonable Ribbon Crochet Ribbon
Techniques: Machine Stitching, Copic Coloring

Thank you for visiting! I always enjoy hearing your comments & thoughts...

Friday, September 26, 2014

Wishing You a Great Day...


Hello! Thanks for visiting, I always neglect to say that, but I really appreciate my visitors! Today's card features a digital image from Jellipark.  I had Doodlebug's new designer paper collection, "Friendly Forest" ready to cut for this fun image. Below is a close-up of the main stamped and Copic colored image.


Below, is a photo of the card interior with coordinating papers ad design.

Okay, Here's the Deets:
Stamps: JellyPark Digital Image, Computer-Generated Interior Sentiment
Papers: Doodlebug "Friendly Forest" Designer Paper Collection, ColorMates Solid Cardstock, Paper Trey Ink White Cardstock
Ink: Memento Tuxedo Black
Accessories: Cuttlebug, Spellbinders' Label Dies, Martha Stewart Border Punch, EK Success Flower Punch, Sewing Machine, Thread, Crochet Thread, Adhesives, Stampin' Up! Dimensionals, Staedtler Triplus Fineliners
Embellishments: Hero Arts Felt Flower, Doodlebug Button, Doodlebug Fall Sprinkles, Pebbles Gingham Ribbon
Copic Sketch Markers: RV000 Pale Purple, RV11 Pink, RV13 Tender Pink, BV01 Viola, BV13 Hydrangea Blue, V05 Marigold, V09 Violet, G24 Wax White, G82 Spring Dim Green, G94 Grayish Olive, B000 Pale Porcelain Blue, B00 Frost Blue, B06 Peacock Blue, BG000 Pale Aqua, YR01 Peach Puff, YR04 Chrome Orange, YR12 Loquat, E00 Skin White, E25 Caribe Cocoa, E27 Africano, E31 Brick Beige, E34 Orientale, 0 Colorless Blender.
Tecchniques: Stamping, Machine Stitching Copic Coloring

Thanks for visiting! I always love to hear your thoughts & comments...


Tuesday, September 23, 2014

A Little Batty


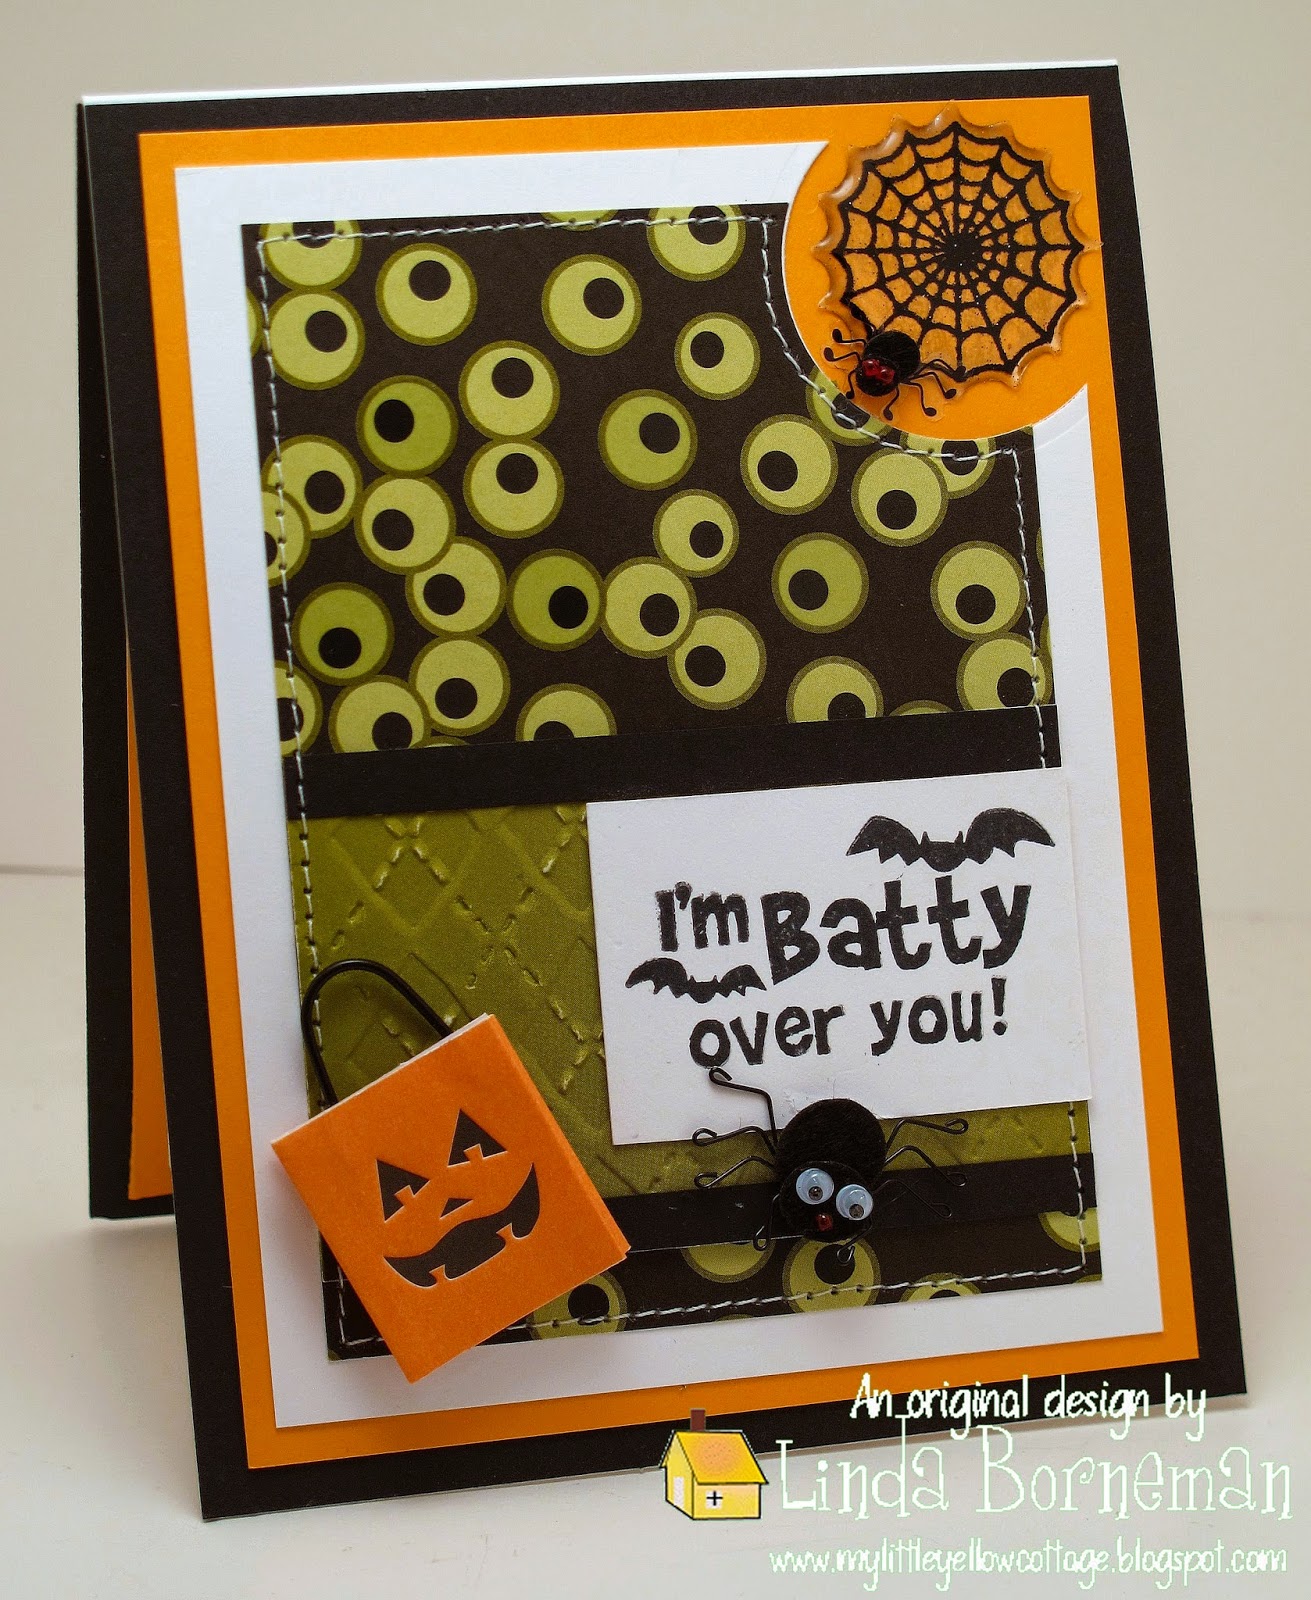
This is the second Halloween card that I've made this week. This one is for my niece's son, so I wanted to make a boy-ish, with creepy, scary things and the designer paper from Cloud 9 Designs, gave me the bat and spider concept for this card. I hope that he likes it but to be honest, I'm not crazy about it, lol. Pictured below, is the card interior with coordinating papers and design.


Okay, Here's the Deets:
Stamps: Studio G Halloween Stamps
Paper: Cloud 9 Design "Luster Eyes See You" Designer Paper, ColorMates Solid Cardstock, Paper Trey Ink White Cardstock
Ink: Memento Tuxedo Black
Accessories: Cuttlebug, Spellbinders Circle Die, Cuttlebug Argyle Embossing Folder, Sewing Machine, Thread, Adhesives, Stampin' Up! Dimensionals
Embellishments; Jolee's Boutique Dimensional Stickers
Techniques: Stamping, Dry Embossing, Machine Stitching

Thank you for visiting! I always enjoy hearing your thoughts and comments...


Saturday, September 20, 2014

A Little Corn...Candy, That Is...


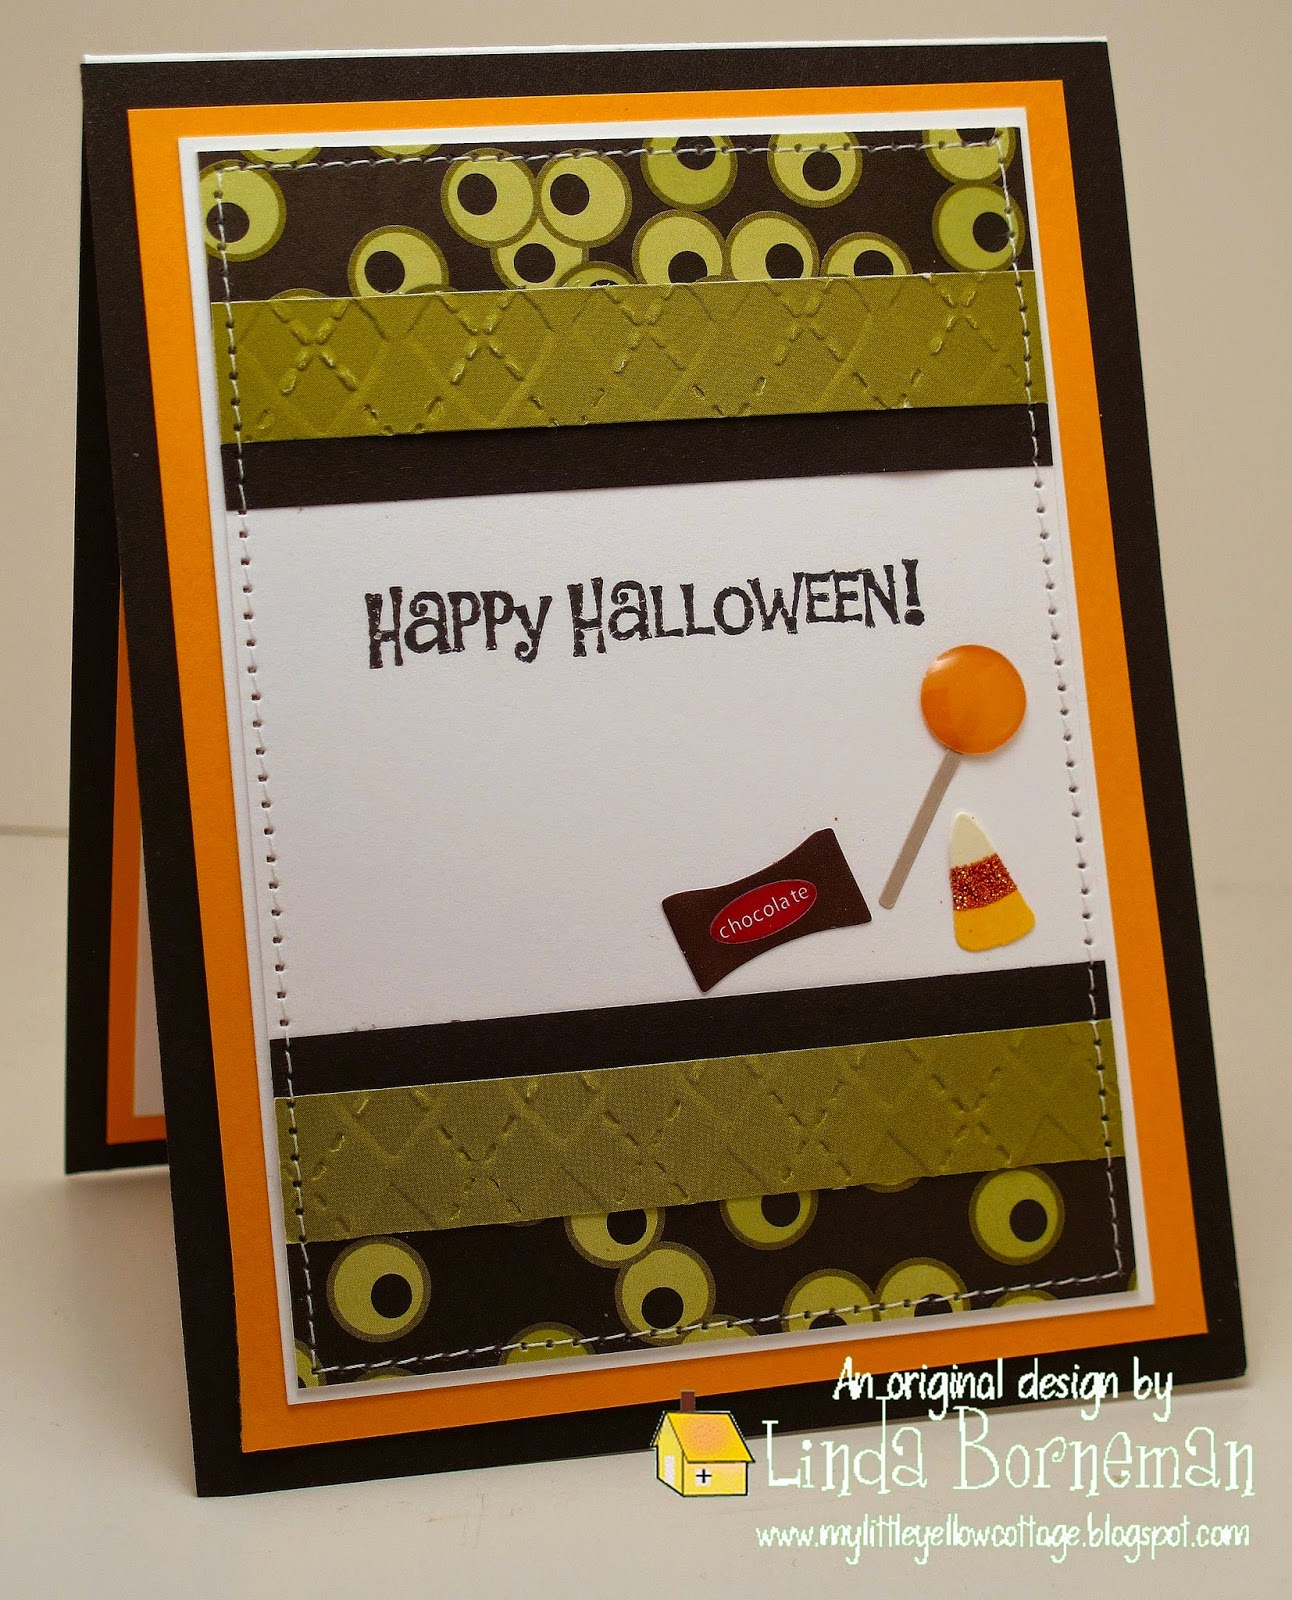
Hello! I've had these little Studio G Halloween stamps for over 5 years and since I have no little ones around, I put them on the shelf. Then when sorting and organizing some designer paper and cardstock, I ran across this fun Halloween print paper and decided to make a Halloween card and that I'd figure out later who I'd send it to, lol. Then, I challenged myself to make a simple card without much ado. It took me FOREVER to make this simple card. But once I got the papers cut, the decorative edge borders cut, I realized that a simple and clean card needs simple and clean embellishment. I'm not sure how I like it but it's done! Below is a photo of the card interior with coordinating papers and design.


Okay, Here's the Deets:
Stamp: Studio G Candy Corn
Papers: Candy Corn Scrapbooking Paper (I don't know the manufacturer, it is from old stock), Clear Dollar Stamps Solid Shimmer Cardstock, ColorMates Solid Cardstock, Paper Trey Ink White Cardstock
Accessories: EK Success Border Punch, Sewing Machine, Thread, Adhesives, Stampin' Up! Dimensionals, Crochet Thread, Copic Sketch markers
Embellishments: Bobbin 3/8; Gingham Ribbon, Doodlebug Buttons
Techniques: Stamping, Machine Stitching

Thank you for visiting! I always love to hear your thoughts and comments...

Autumn Leaves Start to Fall


Hello! A foxy hello at that! Autumn has begun here in Maryland and with it, the leaves are beginning to fall, so I was inspired to use my new Lawn Fawn stamp set, "Into the Woods". I reached immediately for this cutie pie fox and my older Cosmo Cricket "Nutmeg" paper pad and the rich Autumn colors fell into place. Below is a photo of the card interior using coordinating papers and design.


Okay, Here's the Deets:
Stamps: Lawn Fawn's "Into the Woods", Computer-Generated Interior Sentiment
Papers: Cosmo Cricket "Nutmeg" Designer Paper, ColorMates Solid Cardstock, Paper Trey Ink White Cardstock.
Ink: Memento Tuxedo Black, Stampin' Up! Old Olive
Accessories: Cuttlebug, Spellbinders' Regular & Pinking Circle Dies, Martha Stewart Leaf Punch, Sewing Machine, Thread, Adhesives, Stampin' Up! Dimensionals, Sakura Glitter Gel Pen
Embellishments: Doodlebug Buttons, Doodlebug Tangerine Boutique Lace Trim, Jolle's By You Tree.
Copic Sketch Markers: YR04 Chrome Orange, YR12 Loquat, YR21 Cream, BG000 Pale Aqua, BG11 Moon White, YG03 Yellow Green, YG63 Pea Green, YG67 Moss, 0 Colorless Blender
Techniques: Stamping, Machine Stitching, Copic Coloring

Thank you for visiting! I always love to hear your thoughts and comments...


Monday, September 15, 2014

Over the River & Through the Woods


Well, after struggling to get my mojo back to jump back into cardmaking, I found just the ticket. A new stamp and patterned paper does wonders! LOL This card was made with my very first Lawn Fawn purchase, a single stamp called, "Winter Bunny". To create the "snow" layer on the oval, I double die-cut the blue and white oval, free-cutting the snow to appear like a hill of drifted snow. The snowflakes in the image sky were created with a Signo White Gel Pen, freehand. I wanted to use the "Over the River and Through the Woods" Stampin' Up! sentiment and after using it, I realized that cute bunny is not going over the river but he is going through the woods! Below is a close-up view of the stamped image. Right click on any photo to view larger.


I used another Stampin' Up! sentiment for the card interior to tie in the whole snow theme thingy with coordinated papers and design, pictured below:


Okay, Here's the Deets:
Stamps: Lawn Fawn "Winter Bunny", Stampin' Up! Sentiments
Ink: Memento Tuxedo Black, Stampin' Up! Old Olive
Papers: My Minds Eye "Sweater Weather", Colormates Solid Cardstock, Paper Trey Ink White Cardstock
Accessories: Cuttlebug, Spellbinders' Oval & Scalloped Oval Dies, Sewing Machine, Thread, Stampin' Up! Dimensionals, Adhesives, Signo White Gel Pen
Embellishments: Reflections Epoxy Snowflake Stickers, Reasonable Ribbon 5/8" Crochet Trim
Copic Sketch Markers: RV000 Pale Purple, G24 Willow, G40 Dim Green, G94 Grayish Olive, BG000 Pale Aqua, BG72 Ice Ocean, E31 Brick Beige, E34 Orientale, 0 Colorless Blender
Techniques: Stamping, Machine Stitching, Copic Coloroing

Thank you for visiting...I always love to hear your thoughts and comments.